Posted on 6 Comments

Machine ID’d: Homecraft-Delta 16″ Scroll-Jig Saw Model 40-110

DSC00429 5B2 5D

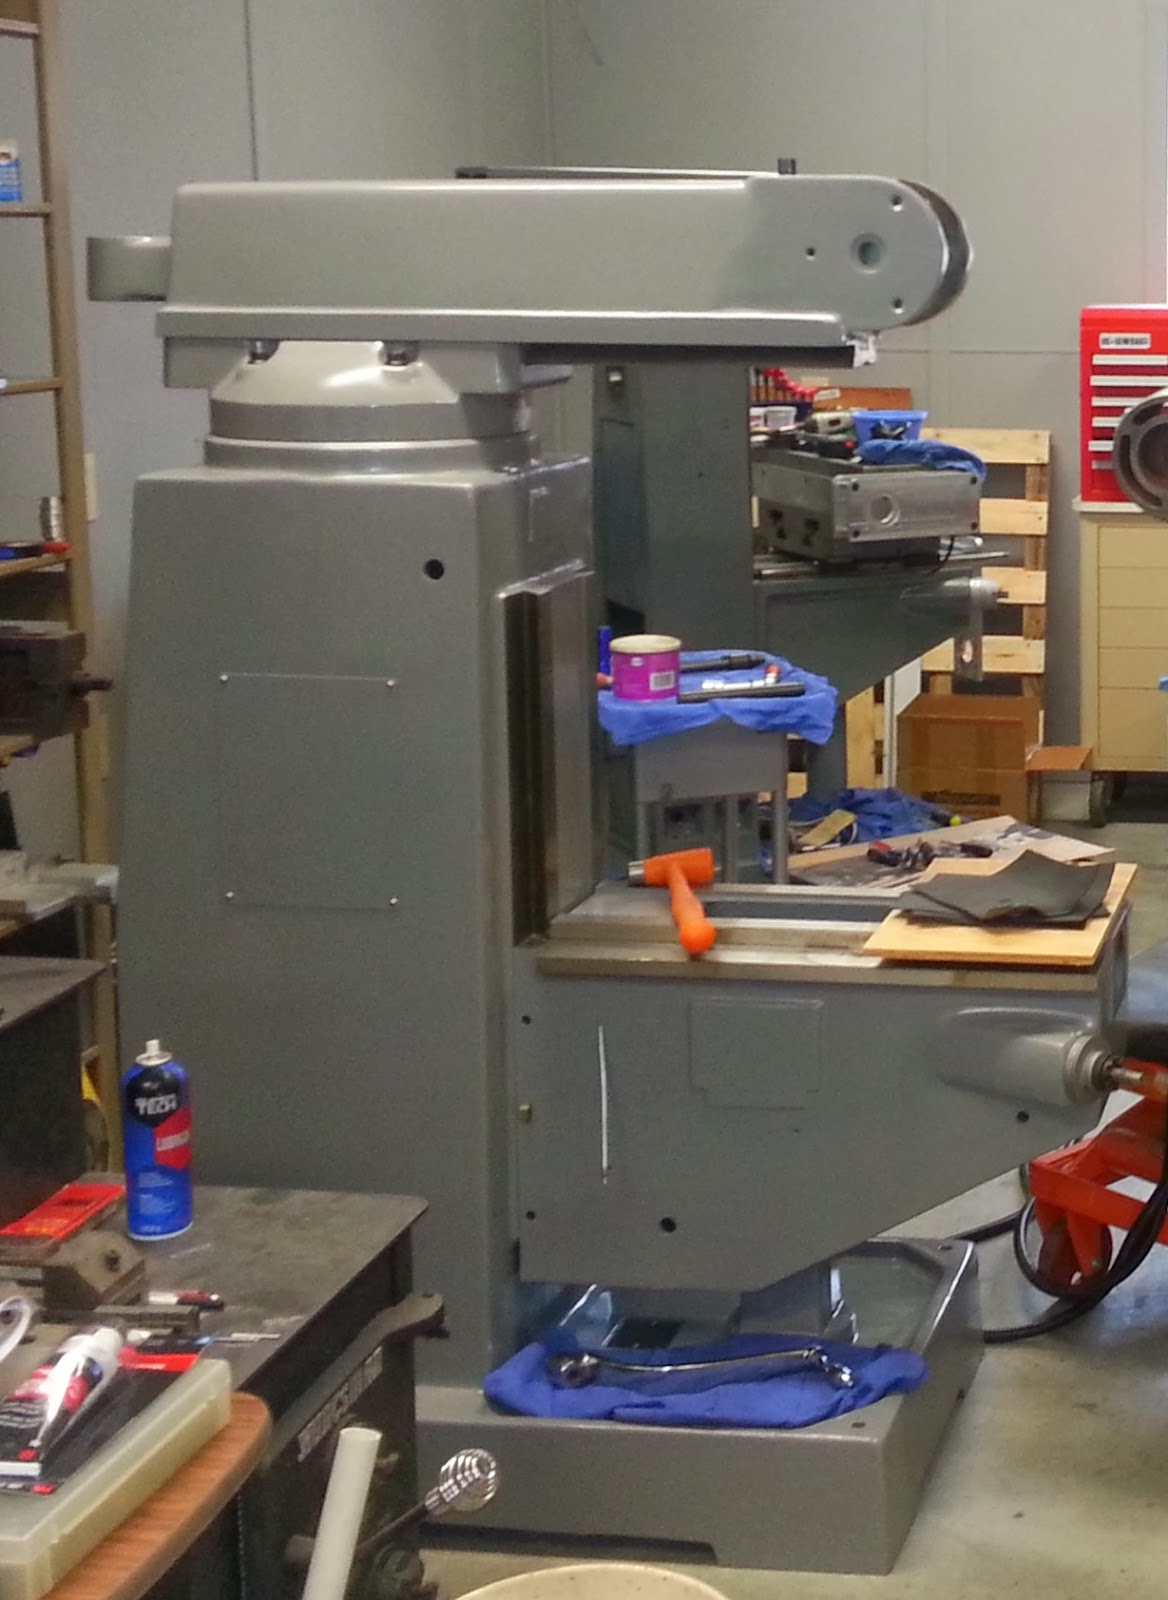
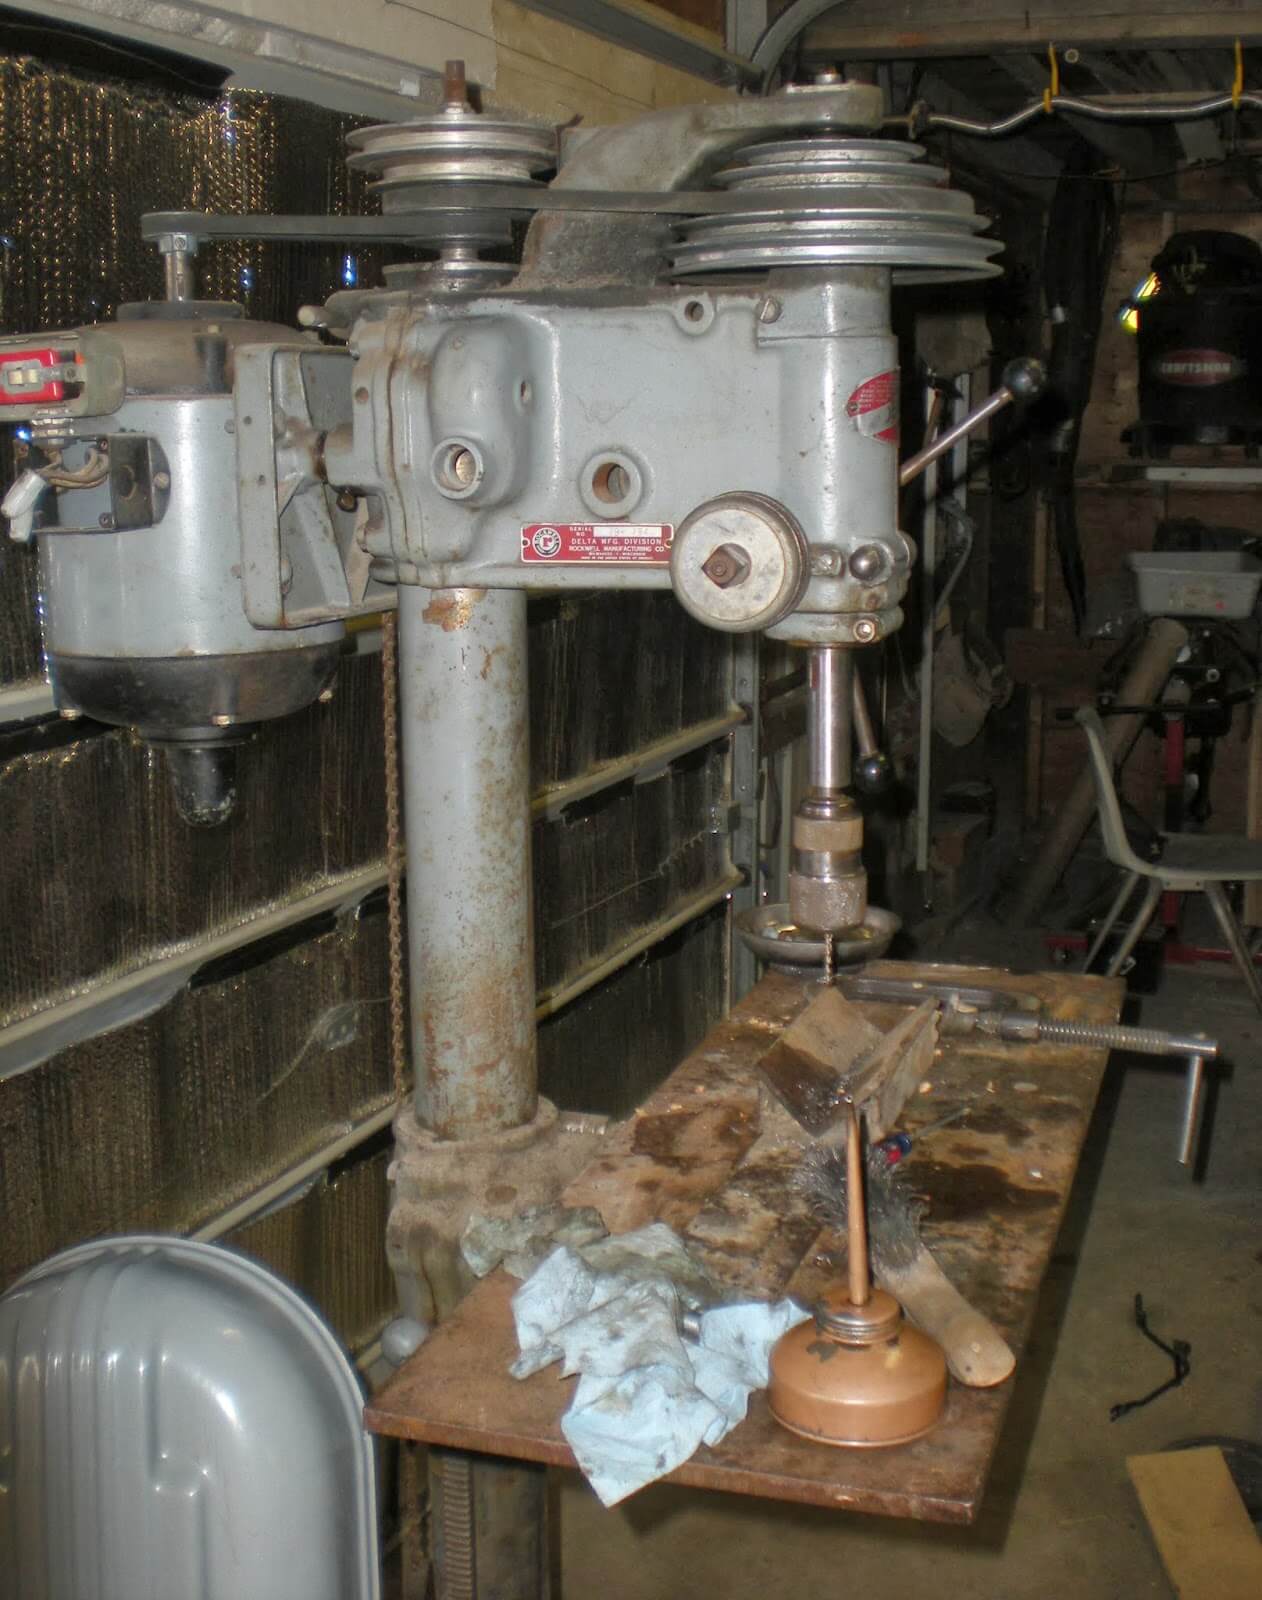
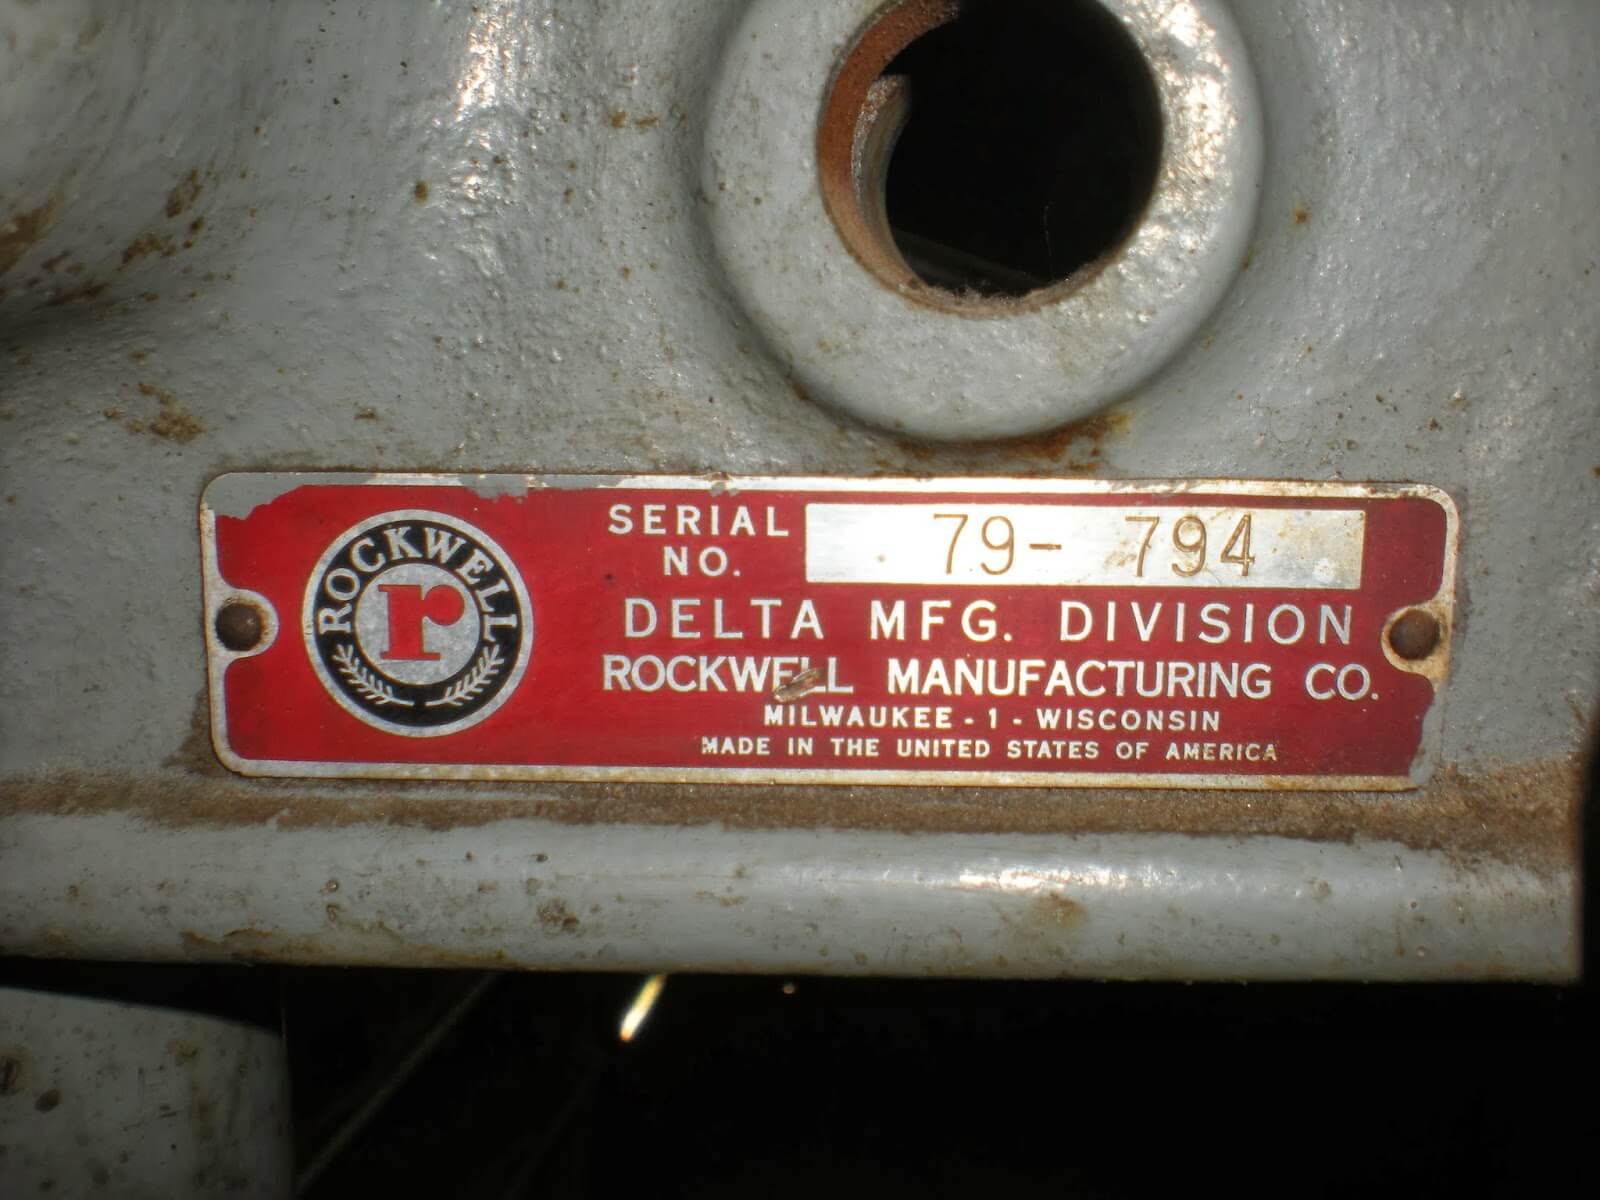
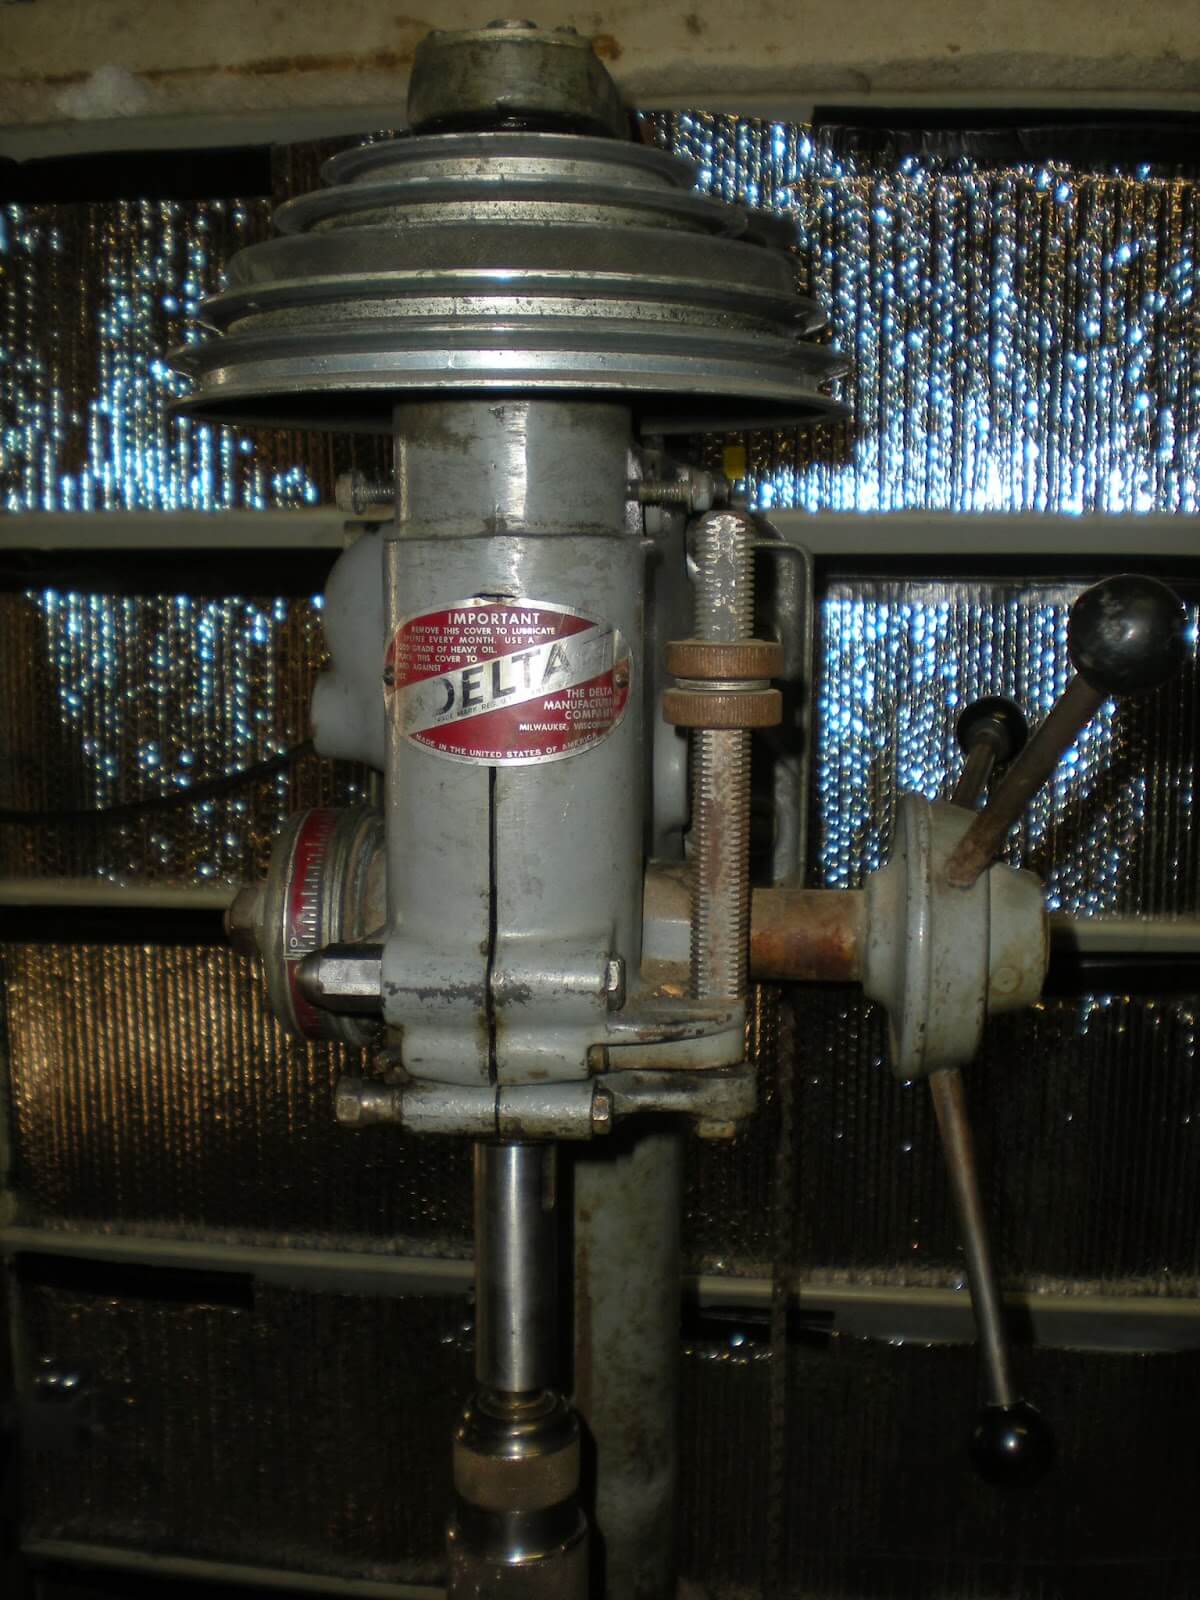
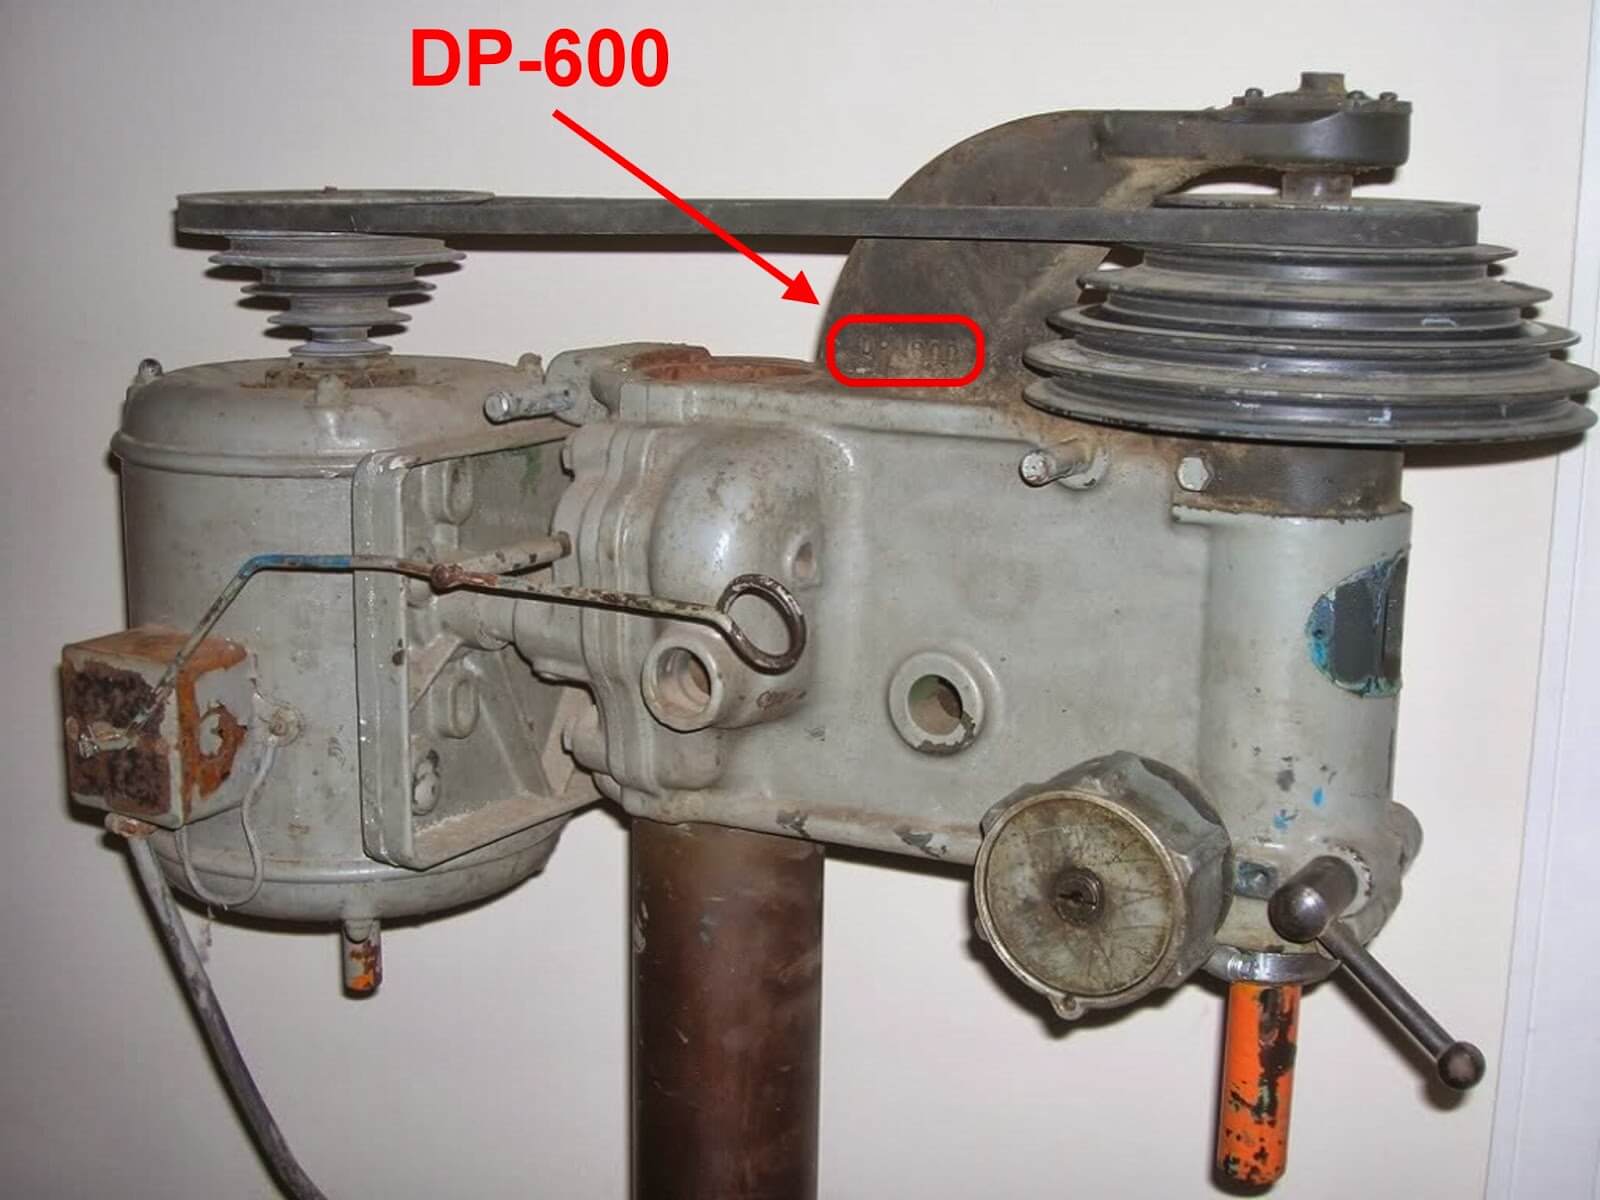
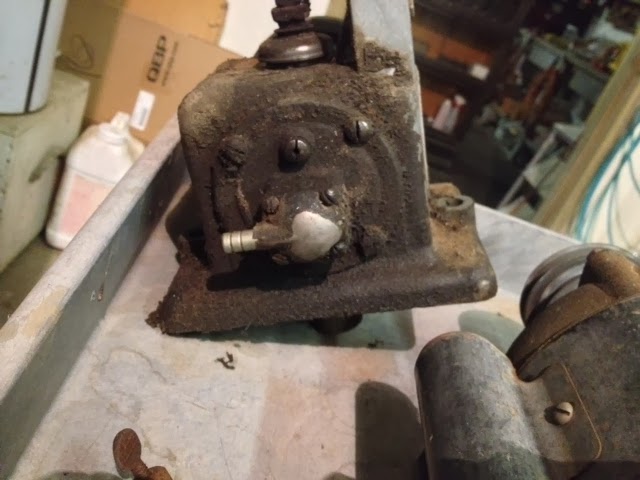
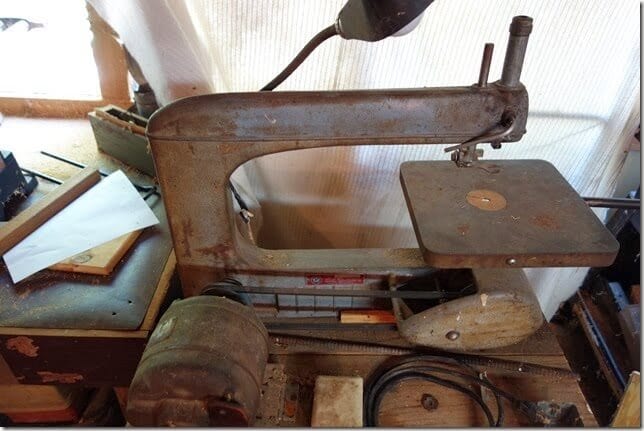
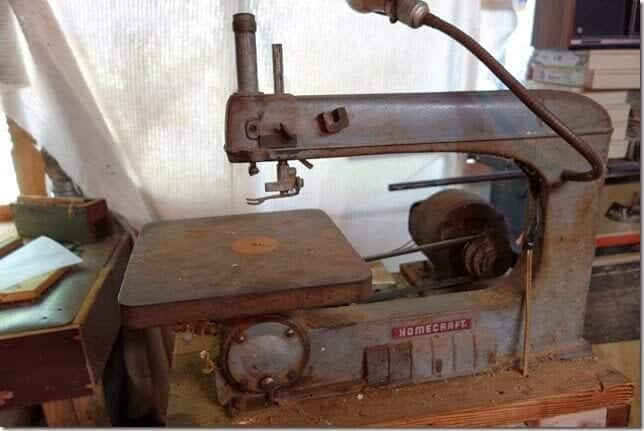
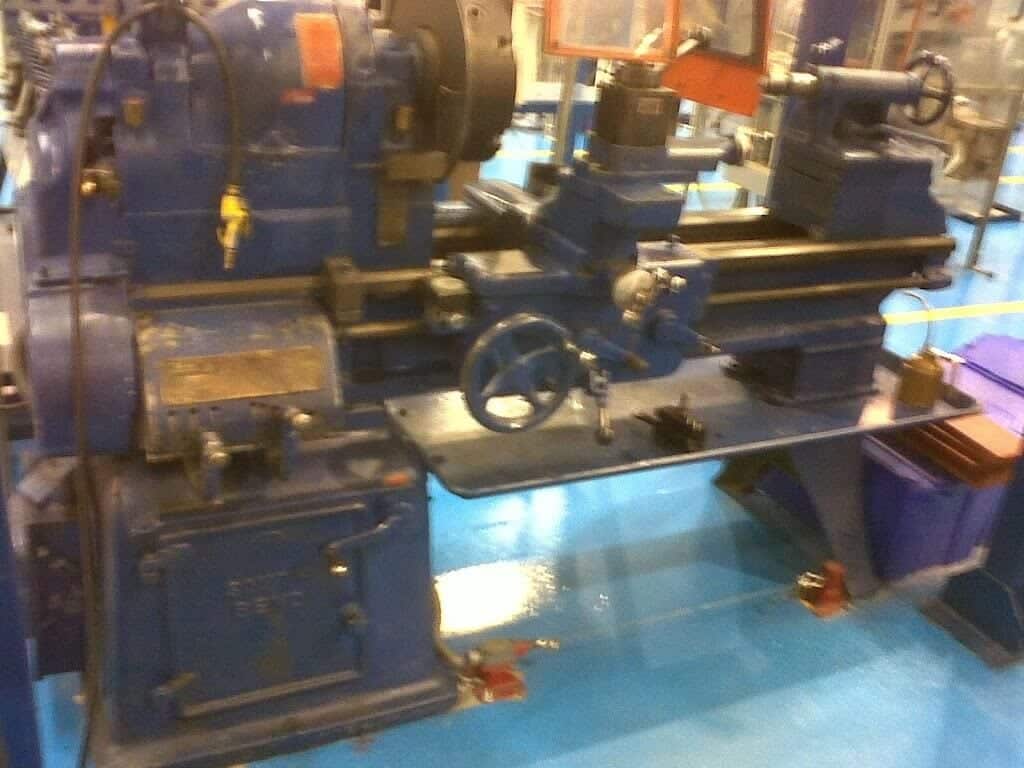
Here are some images of a machine we were able to identify as a Homecraft- Delta 16″ Scroll Saw model 40-110. This scroll saw has Homecraft, Delta Manufacturing Division and Rockwell Manufacturing on the tag. These scroll saws were made and sold during in the late 40’s through the 50’s. These cast iron scroll saws were built to last and we’ve see lots of them still in use.


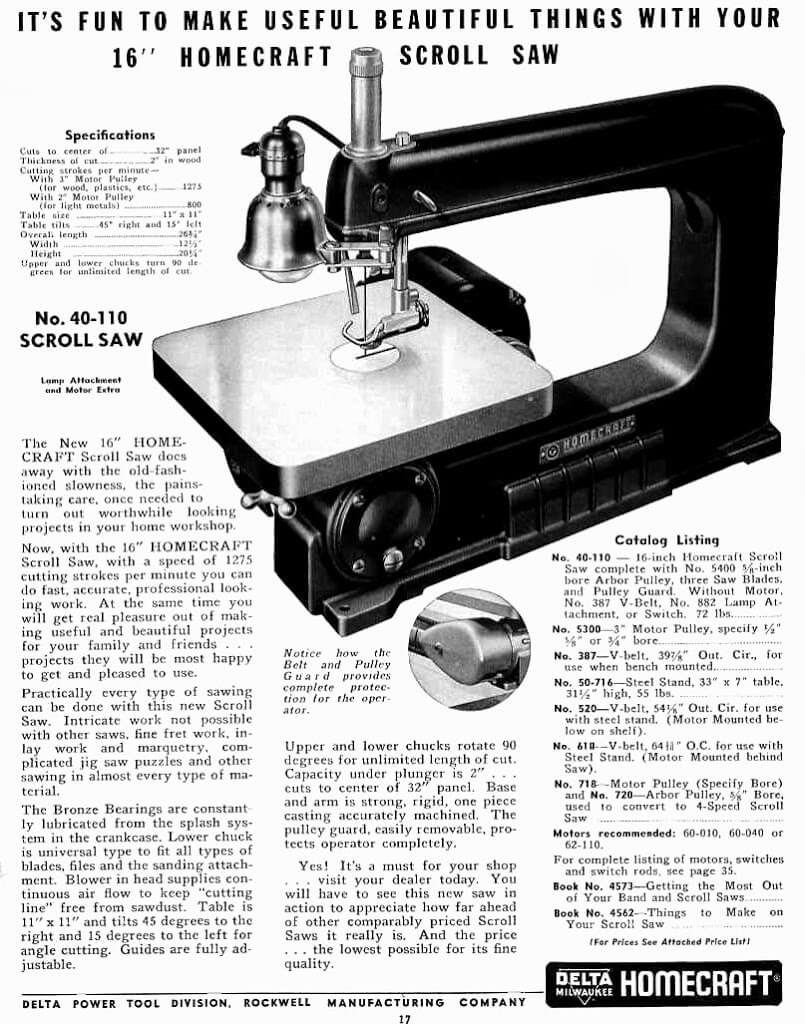
Below is a page from a 1953 Delta Homecraft catalog. This scroll saw sold for $43.50 that year, which is equivalent to $379.54 today.


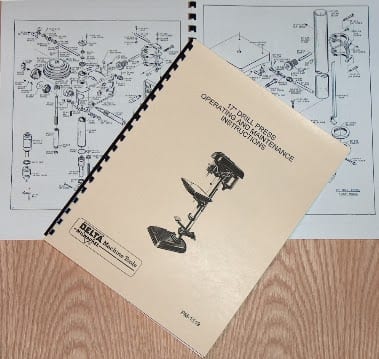
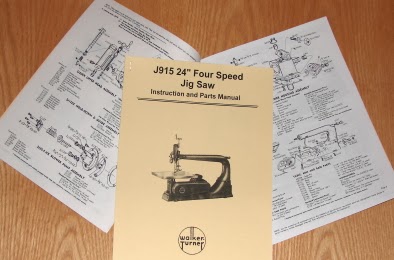
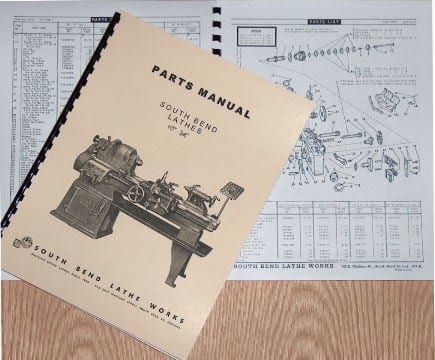
We have two manuals that would cover and be helpful with this scroll saw. We have the owner’s manual with the operating instructions and parts diagrams for the Homecraft 40-110 scroll saw here:


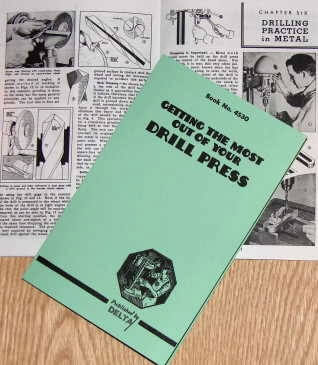
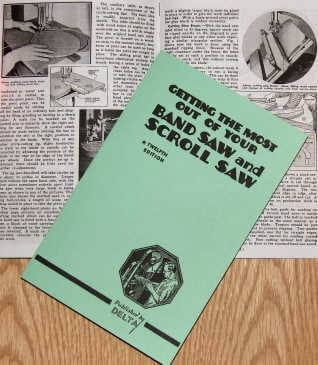
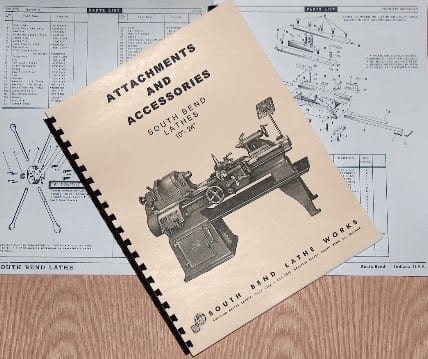
We also have a called “Getting the Most Out of Your Band Saw and Scroll Saw.” This is part of a whole of books that Delta did on different woodworking machines that I really like. They have a lot of tips and tricks. They made a series of 6 different books to cover different types of machines.


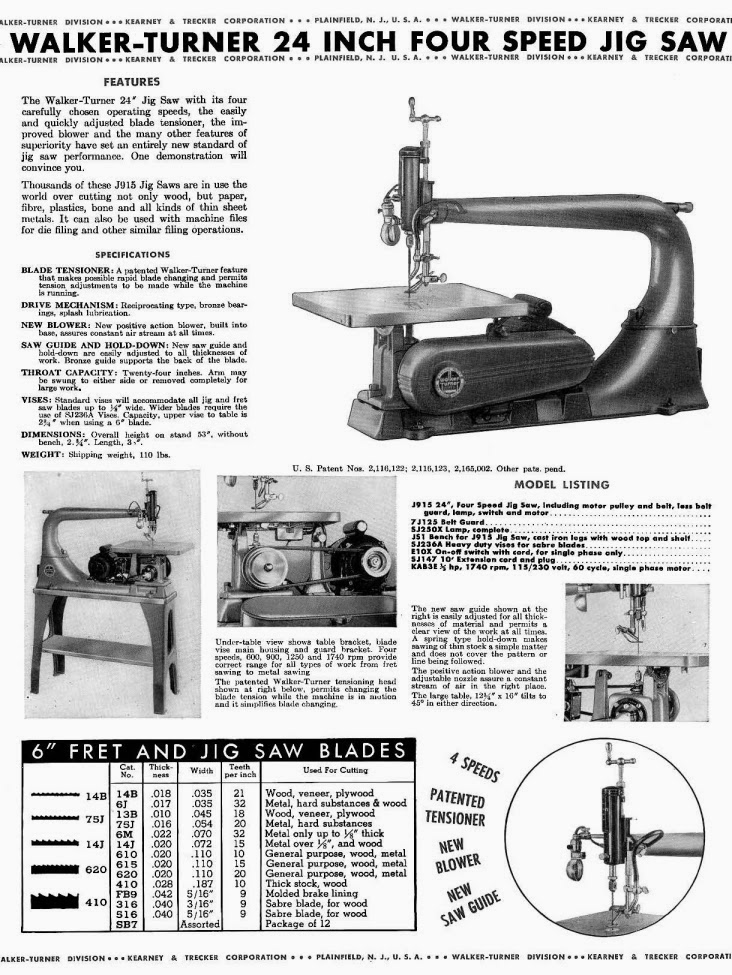
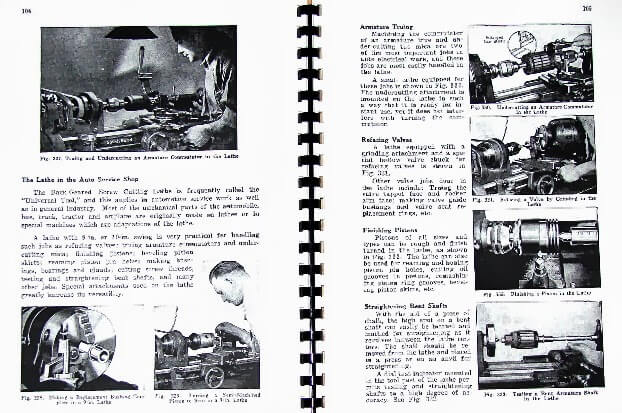
The manual for this scroll is actually pretty informative on setting up the blades. You can use quite a variety inserts you can use depending on the type of work you are doing. You can use saber blades, jewelers blades, files, etc… The manual explains what adjustments and maintenance to check as well.


Submit Your Machine
Do you want to know more about your machine?

Email us your details with pictures, and we’ll put together the best information we can find. Plus, we can get other readers’ input to help you learn more.

Also, feel free to email us if you want us to share your machine on our site.

Email your information to: info@ozarkwoodworker.com

Posted on

Machine ID’d: CL-195-C South Bend 16/24 Metal Lathe

IMG 20130925 04169

Received this image of a South Bend heavy metal lathe the other day. It was made in the 1950’s, and has a 6 foot bed catalog number CL-195-C. These South Bend lathes are beautiful machines They were built like tanks. As long as you install them properly, keep them clean, keep them trim, and oil the lathe properly they should last forever.

We have a few manuals that cover this lathe. We have a parts manuals with exploded view diagrams that shows the main parts of the lathe here:

These are very helpful when trying to take the the lathes apart or put them back together. Also, locating parts can become easier, but most parts have the part number casted into them. 
We also have a manual that shows explosive view parts break down diagrams of the accessories for these larger lathes like the turrets, collets, steady rest, etc… here:
A lot of people didn’t realize the the threading dial was an accessory. It seems like a common part today, but it is actually possible to do threading well without the dial and the version of How to Run A Lathe explains this procedure
South Bend basically made one book for operations that covered all their lathes, but it is important to find the one that covers the correct vintage, because they made lots of changes to these lathes over the years. They keep the book with the same title “How to Run a Lathe” all through out the years, with different editions. The edition we have here covers this style of lathe, and we’ve enlarged it so it is easier to read:

Submit Your Machine
Do you want to know more about your machine?

Email us your details with pictures, and we’ll put together the best information we can find. Plus, we can get other readers’ input to help you learn more.

Also, feel free to email us if you want us to share your machine on our site.

Email your information to: info@ozarkwoodworker.com

Posted on 5 Comments

Machine ID’d: Nardini MS-1440 E Metal Lathe Labeled Clausing

We identified this Nardini MS-1440 E Metal Lathe after receiving some pictures from a gentleman that said his Nardini lathe had an original Clausing label on it. This was the first Nardini metal lathe we had seen with such a label. We knew Clausing became a reseller of foreign machines, like the Colchester lathes.We see lots of machines sold under different names and labels. JET Tools sold a 1550 that was similar to a Clausing. 
The Nardini 14×40 lathes appear to be the most popular size that are still being used today. They are well built machines manufactured in Brazil as you can see by their flag on the picture below. Every owner I’ve talked to about them has always enjoyed the build and quality. REM sales used to import these lathes and had parts available, but they are no longer supporting them. Feel free to comment below, if you know of a parts supplier. We receive request every month for parts for Nardini.

Sometimes it is difficult for people to figure out which Nardini lathe manual goes with their lathe, because they made a lot of variations in sizes and options that are covered in each manual, and it isn’t possible to label each one in the title. The manual below is the one for this lathe, but it can be hard to tell from the title alone.

The best way to narrow it down is look for the letters distinguishing the series. We’ve added pictures and diagrams of in the descriptions of the manuals to compare them to your lathe. The most important thing to do is compare the knob and handle configurations on the headstock. If you are ever unsure as to which Nardini manual matches your lathe, feel free to email us pictures.

Submit Your Machine
Do you want to know more about your machine?

Email us your details with pictures, and we’ll put together the best information we can find. Plus, we can get other readers’ input to help you learn more.

Also, feel free to email us if you want us to share your machine on our site.

Email your information to: info@ozarkwoodworker.com

Posted on

18 New Machine Instructions and Parts Manuals

We’ve been busy restoring machines and filling orders, but we found time to add eighteen new machine manuals to our site.  As with all our manuals, each page of every manual has been hand scanned and digitally cleaned. They all look as good or better than the originals.

We actually re-typed the parts numbers on diagram of the cabinet on the Schaublin 70 lathe manual, because they were just too small and not very legible. That was even on a 11″ x 17″ foldout page. Also, someone obviously had some issues with the gearbox and other parts on the Cincinnati LT lathe manual, because there was a bunch of parts circled and underlined that we had to remove. So that one is now clear and ready for you to mark up for your needs.

If you are interested in gear making, we added one of the best books I’ve seen on the subject, the Cincinnati How to Cut Gear Teeth on a Milling Machine book. The instructions are very clear with concise diagrams on set ups with the formulas.

If you are still looking for a manual that you can’t find on our site, please let us know. We literally have a thousand other manuals that we haven’t gotten to. It just takes a lot of time to hand scan each one, and get them ready for printing and online. Plus, we are always acquiring new manuals, and we can add the one you are looking for to our watch list. As you can see, we try to hit a variety of machines to cover the needs of small to large shops.

Craftsman 103.0103 12 Inch Band Saw Owner's Instructions and Parts Manual Craftsman 103.0103 12 Inch Band Saw Owner’s Instructions and Parts Manual
CRAFTSMAN 113.244513 10-Inch Band Saw Owner's and Parts Manual CRAFTSMAN 113.244513 10-Inch Band Saw Owner’s and Parts Manual
CINCINNATI Model LT 16", 18", 20", 24" Metal Engine Lathes Instructions and Parts Manual CINCINNATI Model LT 16″, 18″, 20″, 24″ Metal Engine Lathes Instructions and Parts Manual
DEWALT 700 8" Radial Arm Saw Owner's Instructions and Parts Manual DEWALT 700 8″ Radial Arm Saw Owner’s Instructions and Parts Manual
DEWALT 790 12-Inch Radial Arm Saw Owner's Instructions and Parts Manual DEWALT 790 12-Inch Radial Arm Saw Owner’s Instructions and Parts Manual
DEWALT 7770 10-inch Radial Arm Saw Owner's Instructions and Parts Manual DEWALT 7770 10-inch Radial Arm Saw Owner’s Instructions and Parts Manual
FIRST LC-18VS LC-18VHS Horizontal/Vertical Milling Machine Operating Instructions Manual FIRST LC-18VS LC-18VHS Horizontal/Vertical Milling Machine Operating Instructions Manual
LAGUN FTV-1S FTV-2S FTV-3S Vertical Milling Machine Operator & Parts Manual LAGUN FTV-1S FTV-2S FTV-3S Vertical Milling Machine Operator & Parts Manual
Models FT-1S, FT-2S, FT-3S, FTV-1S, FTV-2S, and FTV-3S
HARDINGE Lensmaster II Optical Radius Turning Attachment Operator's Manual HARDINGE Lensmaster II Optical Radius Turning Attachment Operator’s Manual
WEILER Matador Lathes Models W and VS Operating Instructions and Parts Manual WEILER Matador Lathes Models W and VS Operating Instructions and Parts Manual
MIDWAY Millmaster Model 501 Vertical Milling Machine Operating Instructions and Parts Manual MIDWAY Millmaster Model 501 Vertical Milling Machine Operating Instructions and Parts Manual
OLIVER No. 20-A Pattern Makers Wood Turning Lathe Owner's and Parts Manual OLIVER No. 20-A Pattern Makers Wood Turning Lathe Owner’s and Parts Manual
OLIVER No. 116 36" Band Saw Operating Instructions and Parts Manual OLIVER No. 116 36″ Band Saw Operating Instructions and Parts Manual
OLIVER Nos. 115, 117, 217 Band Saws Care and Operation Instructions Manual OLIVER Nos. 115, 117, 217 Band Saws Care and Operation Instructions Manual
POWERMATIC Model 412 12.5" Wood Planer Instructions and Parts Manual POWERMATIC Model 412 12.5″ Wood Planer Instructions and Parts Manual
SCHAUBLIN TO 70-80 Precision Toolmaker's Lathe Operating and Parts Manual SCHAUBLIN TO 70-80 Precision Toolmaker’s Lathe Operating and Parts Manual
WILTON 3400 and 3410 7x12 Horizontal Band Saw Instructions and Parts Manual WILTON 3400 and 3410 7×12 Horizontal Band Saw Instructions and Parts Manual
How to Cut Gear Teeth on a Milling Machine by Cincinnati for Rack, Spur, Bevel, Helical, & Worm Gears Handbook Manual How to Cut Gear Teeth on a Milling Machine by Cincinnati for Rack, Spur, Bevel, Helical, & Worm Gears Handbook Manual


Check back to see what we will add next!


Posted on

10″x50″ Vertical Milling Machine Restoration Part: 2 Cleaning and Painting :Shop Projects

We are now ready to clean, paint, and restore our new Grizzly G4029 10×50 vertical milling machine. After finally getting the mill moved into our shop (Part 1), we kept the mill on the flat dolly to make it easier to move and paint until we figure out where it’s permanent home would be located.

This milling machine has never been used, but it had at least 5 year old cosmoline grease on it to prevent rusting. Some of it was so thick and gummy that we had to use some razor blades to scrape a lot of it off, and then we used some rags with the Super Tech lubricant that they sell at Walmart. It really helped loosen the cosmoline and helped with any small amounts of rust that did form. It’s just like WD-40, but cost less. We have ended up using it quite a bit with the machines in our shop.

We decided to take the time to sand, putty, and paint the entire mill. There were a lot of chips and scratches in the paint and casting putty from being stored and moved around the Grizzly warehouse for years. Plus, we aren’t big fans of the green paint. We disassembled every part except the knee. We sanded everything, and used the Bondo Lightweight Body Filler to fill in the chips and scratches.

  • Please Note: It is actually a good idea to disassemble spindles and critical parts of any Asian machine to clean them and grease/oil them properly. You may not believe the amount of grit and grime left from the manufacturing process in these. I would NEVER operate an Asian machine without doing this.
I like using this Bondo, because it states that it works with metal and steel, and it’s fairly easy to use and manipulate. I recommend building it up in layers on good size chips or holes (build and sand, build and sand). It’s nearly impossible to get it correct the first time for the paint.
Before we decided on the new color of our mill, we had to make some decisions about the milling head. The head to our G4029 mill had been cannibalized for parts over the years, which is a common practice at Grizzly on damaged machines. We decided the best option for our shop and time was to purchase a brand new head with the options we really need/want. I’ll discuss more about finding and ordering parts for these types of mills in the next article, but we ended up choosing the ACER E-Mill 3HP Variable Speed Head, which cost a little over $3,000. They are available in Bridgeport gray or beige.
We decided to go for the Bridgeport gray color. A good easily accessible paint that is very close to Bridgeport gray that we decided to use is Krylon “ColorMaster Classic Gray Spray Paint”. It is also available at Walmart. It goes on easily, and we have found it to be fairly durable in the shop.
Here are some pictures of the finished results. I’ll have a lot better pictures in the next article about parts and installation of the new mill head.

Do you have any products that you like to use during your machine restoration and painting? Or do you have any recommendations for me? Do you have any tips or tricks?

Please share in your comments below.
Posted on 9 Comments

Machine ID’d: Rockwell-Delta 17″ Drill Press with DP-600 casting.

rockwell17drillpress1

Rockwell17drillpress1

Here is a old Rockwell-Delta 17″ floor model drill press that a reader sent us pictures of to find more information about. The owner said the Rockwell drill press was used in a production facility for some time. The gentleman he bought the drill press from was 67 and said he started operating it when he was 13. This Rockwell 17″ drill press has has serial number 79-794 which dates it to 1949. In 1950 this drill press sold for $180.50 to $196.00 depending on the options, which is equivalent to $1,745.60 to $1,895.50 today. In 1949, you couldn’t pick up a quality machine like this in a garage sale.


Delta17drillpress1


It appears that this particular Rockwell-Delta 17″ drill press has a slow speed attachment, which is the pulley installed right above the column, but there is pulley on the motor with only one position. I’m not sure if the motor pulley broke at some time or not, but this is not a typical or Rockwell Manufacturing configuration. Information on the slow speed attachment is not included in the main owner’s manual, but it was used to provide more speed options for drilling. I’m guessing someone may have broken the original motor pulley, and either had or found a slow speed attachment to get at at least some speeds out of the drill press.


How to Identify this Rockwell Drill Press

We have operator, owner’s, and parts manuals for many different Rockwell-Delta-Milwaukee drill presses here. These older Delta machines from this vintage usually don’t have model numbers on them, and lots of people have asked us how to identify them.


The simplest way to identify many of these older Delta machines is by the casted part number on the main part of the machine. These Rockwell-Delta 17″ drill presses have “DP-600″ casted into the head on the arm that supports the front pulley. This is the part number for the head casting. Here is a picture showing its location on another 17” drill press.


Manuals for this Rockwell 17″ Drill Press


We have a couple manuals that would be useful with this Rockwell-Delta 17″ drill press model. We have the original operator’s and parts manual for this drill press model here:


DELTA-MILWAUKEE 17″ Drill Press DP-600 Instructions & Parts Manual with FOOT FEED


We also have another book that Delta published with additional information about drill press use and set ups. This book covers all the branches of drill press operation in the home workshop with over two hundred photographic illustrations and line drawings even for uses like sanding, shaping, mortising, etc…


It’s a really useful and interesting series of books that I recommend to anyone wanting to learn more about drill press use.

DELTA Getting the Most Out of Your Drill Press Manual


 Catalog Pages for the Rockwell 17″ Drill Press


Below are some pages from a 1950 Delta Milwaukee catalog about this 17″ drill press. The catalog displays the different options and accessories that were available for this model. The drill press owners manual above covers a lot of the different variations between the bench and floor models.


Pages from delta catalog 1950_Page_1              Pages from delta catalog 1950_Page_2


Do you have one of these drills, or
do you have anything else you would like to add about it’s history or use?
Please add your comments below.


Submit Your Machine
Do you want to know more about your machine?

Email us your details with pictures, and we’ll put together the best information we can find. Plus, we can get other readers’ input to help you learn more.

Also, feel free to email us if you want us to share your machine on our site.

Email your information to: info@ozarkwoodworker.com

Posted on

Machine ID’d: Walker Turner 24″ Scroll/Jig Saw J915

Received these pictures from a gentleman trying to verify which Walker Turner 24″ scroll saw he had in his shop. Walker Turner made a lot of changes to their 24″ scroll saw over time. Some of the difference are fairly subtle, and we have manuals for a few of them. The differences between the J781 and J782 are so subtle that we combined the two into the same manual to make it easier for everyone.

 
The main identifying difference between the J915 and the J781 or J782 is the fact that the air hose comes out of the arm (as you can see in the image below). While the air hose on the J781 and J782 comes out of the top of the head.
We have a manual for this Walker Turner Jig/Scroll saw here:

The Walker Turner J915 24″ Jig Saw without a stand or accessories sold for $63.50 in 1949, which is equivalent to $623.12 today. Here is a page on the J915 from a 1949 Walker Turner catalog.

Do you have one of these scroll saws, or
do you have anything else you would like to add about it’s history or use?
Please add your comments below.

Submit Your Machine
Do you want to know more about your machine?

Email us your details with pictures, and we’ll put together the best information we can find. Plus, we can get other readers’ input to help you learn more.

Also, feel free to email us if you want us to share your machine on our site.

Email your information to: info@ozarkwoodworker.com