Description
Number of Pages: 48
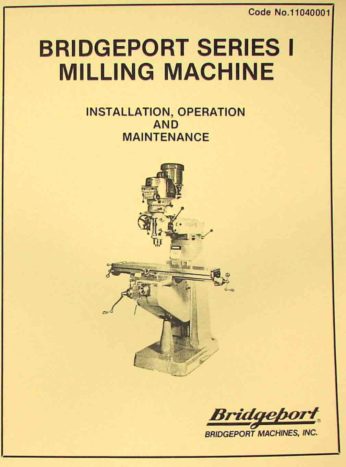
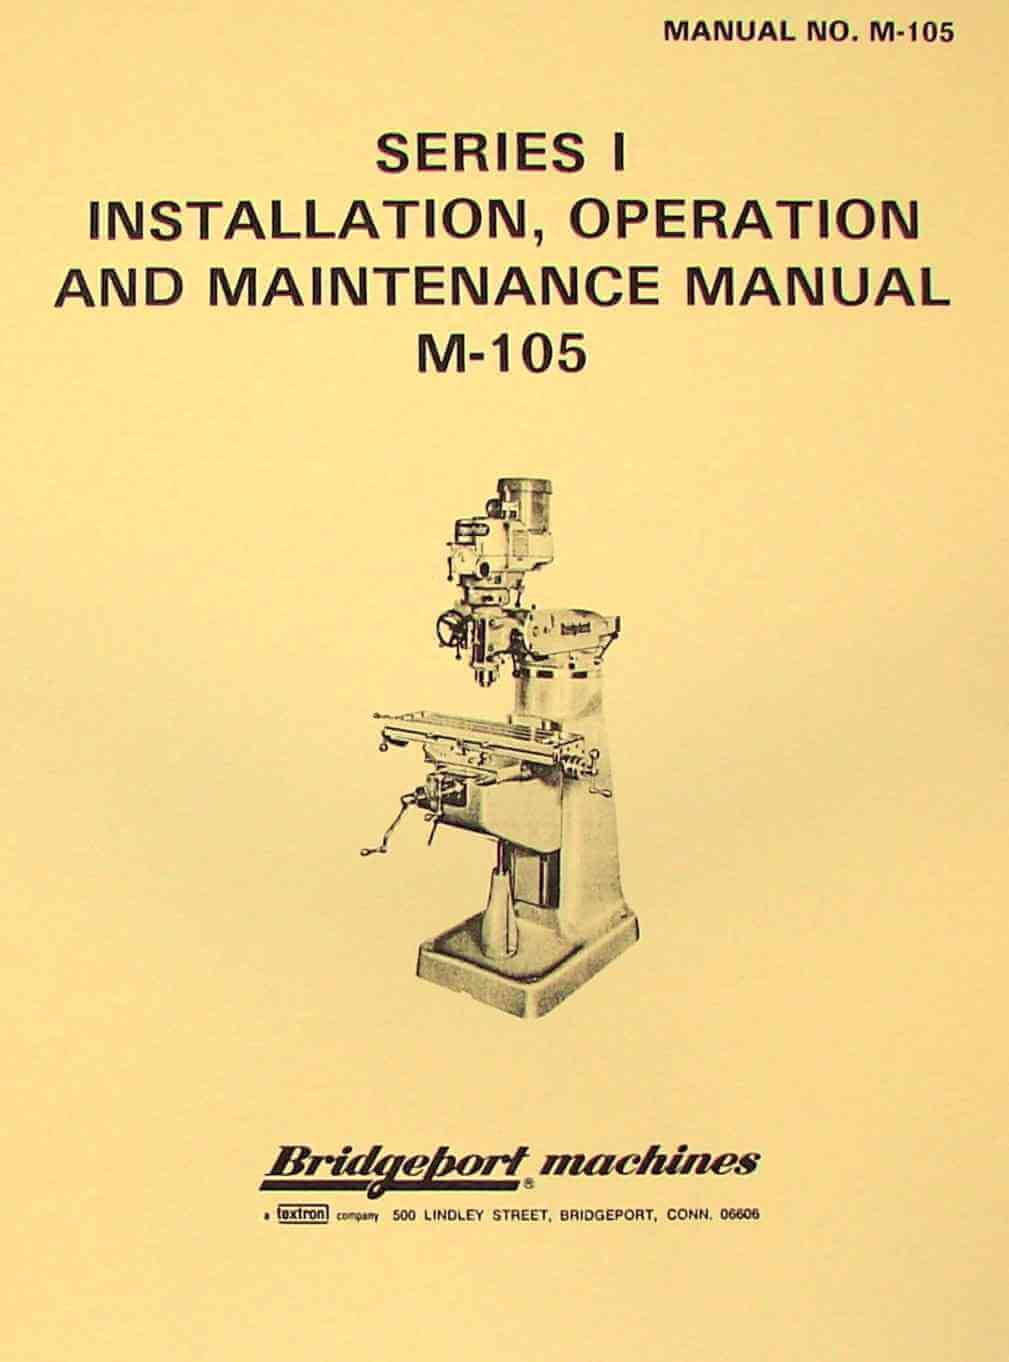
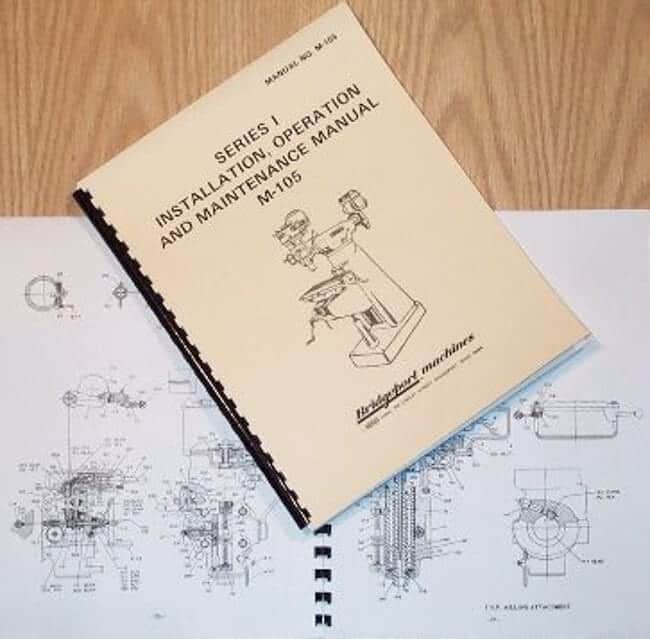
This is a reproduction, not a photocopy, of an original Bridgeport M-105 Series-I Mill Installation, Operation, and Maintenance Manual. This manual covers the full milling machine. It includes good information on installing and adjusting all of the major parts. It also covers proper lubrication instructions It covers the parts for the 1.5hp Variable Speed Motor as well as operating instructions, installation instructions, and how to change the variable speed belt in this mill. The manual covers seven other heads and attachments, which are listed in the contents below.

|
The manual above may help you operate and maintain your milling machine, but if you would like to learn more about how to set up and use your mill properly, I highly recommend you check out this book here: The Milling Machine for Home Machinists Book. It covers how to properly install, and check for alignment of the table and spindle illustrated in color photographs and diagrams. It goes into the basics of how to clamp down different shaped material. This information can even be useful for experienced mill operators. You’ll wish this was the manual that originally came with your mill with its no-nonsense approach. We also have a complete series of different machinist books on sharpening, gearmaking, metal lathes, and more here: Workshop Machinist Series |

|
|---|
Contents:
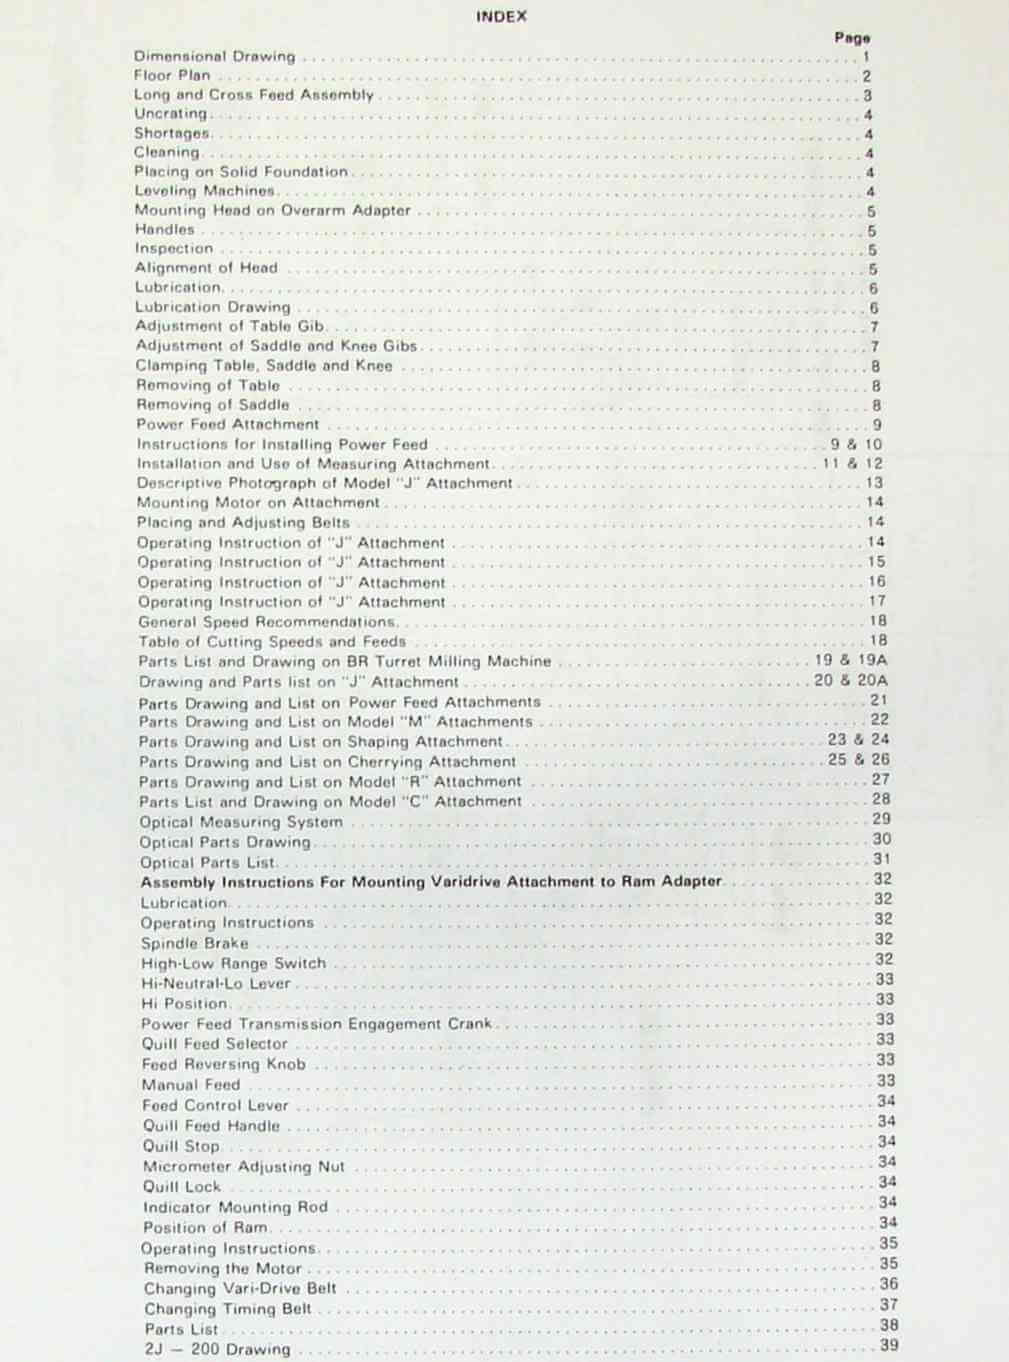
Dimensional Drawing............................................1
Floor Plan.....................................................2
Long and Cross Feed Assembly...................................3
Uncrating......................................................4
Shortages......................................................4
Cleaning.......................................................4
Placing on Solid Foundation....................................4
Leveling Machines..............................................4
Mounting Head on Overarm Adapter...............................5
Handles........................................................5
Inspection.....................................................5
Alignment of Head..............................................5
Lubrication....................................................6
Lubrication Drawing............................................6
Adjustment of Table Gib........................................7
Adjustment of Saddle and Knee Gibs.............................7
Clamping Table, Saddle and Knee................................8
Removing of Table..............................................8
Removing of Saddle.............................................8
Power Feed Attachment..........................................9
Instructions for Installing Power Feed......................9&10
Installation and Use of Measuring Attachment...............11&12
Descriptive Photograph of Model "J" Attachment................13
Mounting Motor on Attachment..................................14
Placing and Adjusting Belts...................................14
Operating Instruction of "J" Attachment.......................14
Operating Instruction of "J" Attachment.......................15
Operating Instruction of "J" Attachment.......................16
Operating Instruction of "J" Attachment.......................17
General Speed Recommendations.................................18
Table of Cutting Speeds and Feeds.............................18
Parts List and Drawing on BR Turret Milling Machine.......19&19A
Drawing and Parts list on "J" Attachment..................20&20A
Parts Drawing and List on  Power Feed Attachments.............21
Parts Drawing and List on Model "M" Attachments...............22
Parts Drawing and List on Shaping Attachment...............23&24
Parts Drawing and List on Cherrying Attachment.............25&26
Parts Drawing and List on Model "R" Attachment................27
Parts List and Drawing on Model "C" Attachment................28
Optical Measuring System......................................29
Optical Parts Drawing.........................................30
Optical Parts List............................................31
Assembly Instructions For Mounting Varidrive Attachment.......32
Lubrication...................................................32
Operating Instructions........................................32
Spindle Brake.................................................32
High-Low Range Switch.........................................32
Hi-Neutral-Lo Lever...........................................33
Hi Position...................................................33
Power Feed Transmission Engagement Crank......................33
Quill Feed Selector...........................................33
Feed Reversing Knob...........................................33
Manual Feed...................................................33
Feed Control Lever ...........................................34
Quill Feed Handle.............................................34
Quill Stop....................................................34
Micrometer Adjusting Nut......................................34
Quill Lock....................................................34
Indicator Mounting Rod........................................34
Position of Ram...............................................34
Operating Instructions........................................35
Removing the Motor............................................35
Changing Vari-Drive Belt......................................36
Changing Timing Belt..........................................37
Parts List....................................................38
2J - 200 Drawing..............................................39
Overview:
I have collected this information for many years and have found the information they contain to be priceless in using and setting up the machines properly. I believe this manual will be a valuable resource of knowledge that will provide a lot of helpful information that is often hard to find. My manuals are not photocopies. I maintain a high standard of quality in my reproductions. Most of the manuals I reproduce look better than their originals. I have professionally digitally edited every page, and removed stains, wrinkles and handwriting. All of the manuals are printed on thick white paper to withstand shop wear and tear. This manual is clearer and easier to read than a .pdf download.